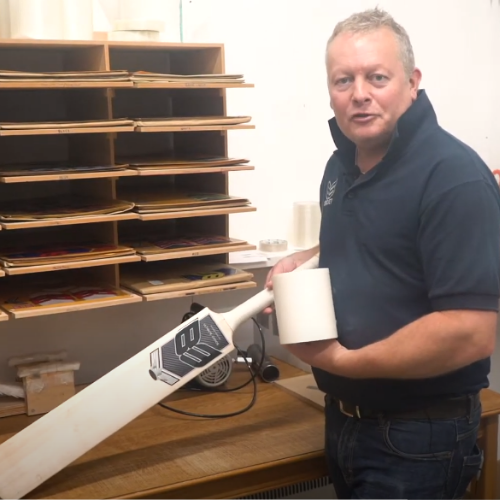
WATCH THE VIDEO
Here’s your step by step checklist
Step 1 – Place the bat face down in the centre of the scuff sheet.
Step 2 – Trace the toe outline on the bottom edge of the scuff sheet.
Step 3 – Mark the scuff sheet top edge just below the bat stickers.
Step 4 – Cut the scuff sheet top edge to size.
Step 5 – Cut the scuff sheet bottom edge to the toe outline, make sure you cut up the sides slightly so that you get a tidy finish.
Step 6 – Ensure the face of the cricket bat is clean and free from dust.
Step 7 – Peel back the back sheet to about 50/60mm, fit the scuff sheet top edge to just below the stickers.
Step 8 – Remove the remaining back sheet, pull tight, and secure the bottom edge.
Step 9 – Working from the bottom, smooth out the scuff sheet from the centre to the bat edges, working out any air bubbles.
Step 10 – Wrap the sides around the edges
Voila …. Perfect, you’ve just fitted a scuff sheet, the proper way, the B3 way!

